
Why Is Google Ads Conversion Tracking Hard to Get Right on Shopify?
Conversion tracking sounds simple someone clicks your ad, buys something, done. In practice, Shopify stores have a few things working against clean tracking.
First, the path to purchase is rarely one straight line. Someone might see your ad on Monday, come back directly on Thursday, and buy on Friday. A basic setup will either miss that conversion entirely or credit the wrong source.
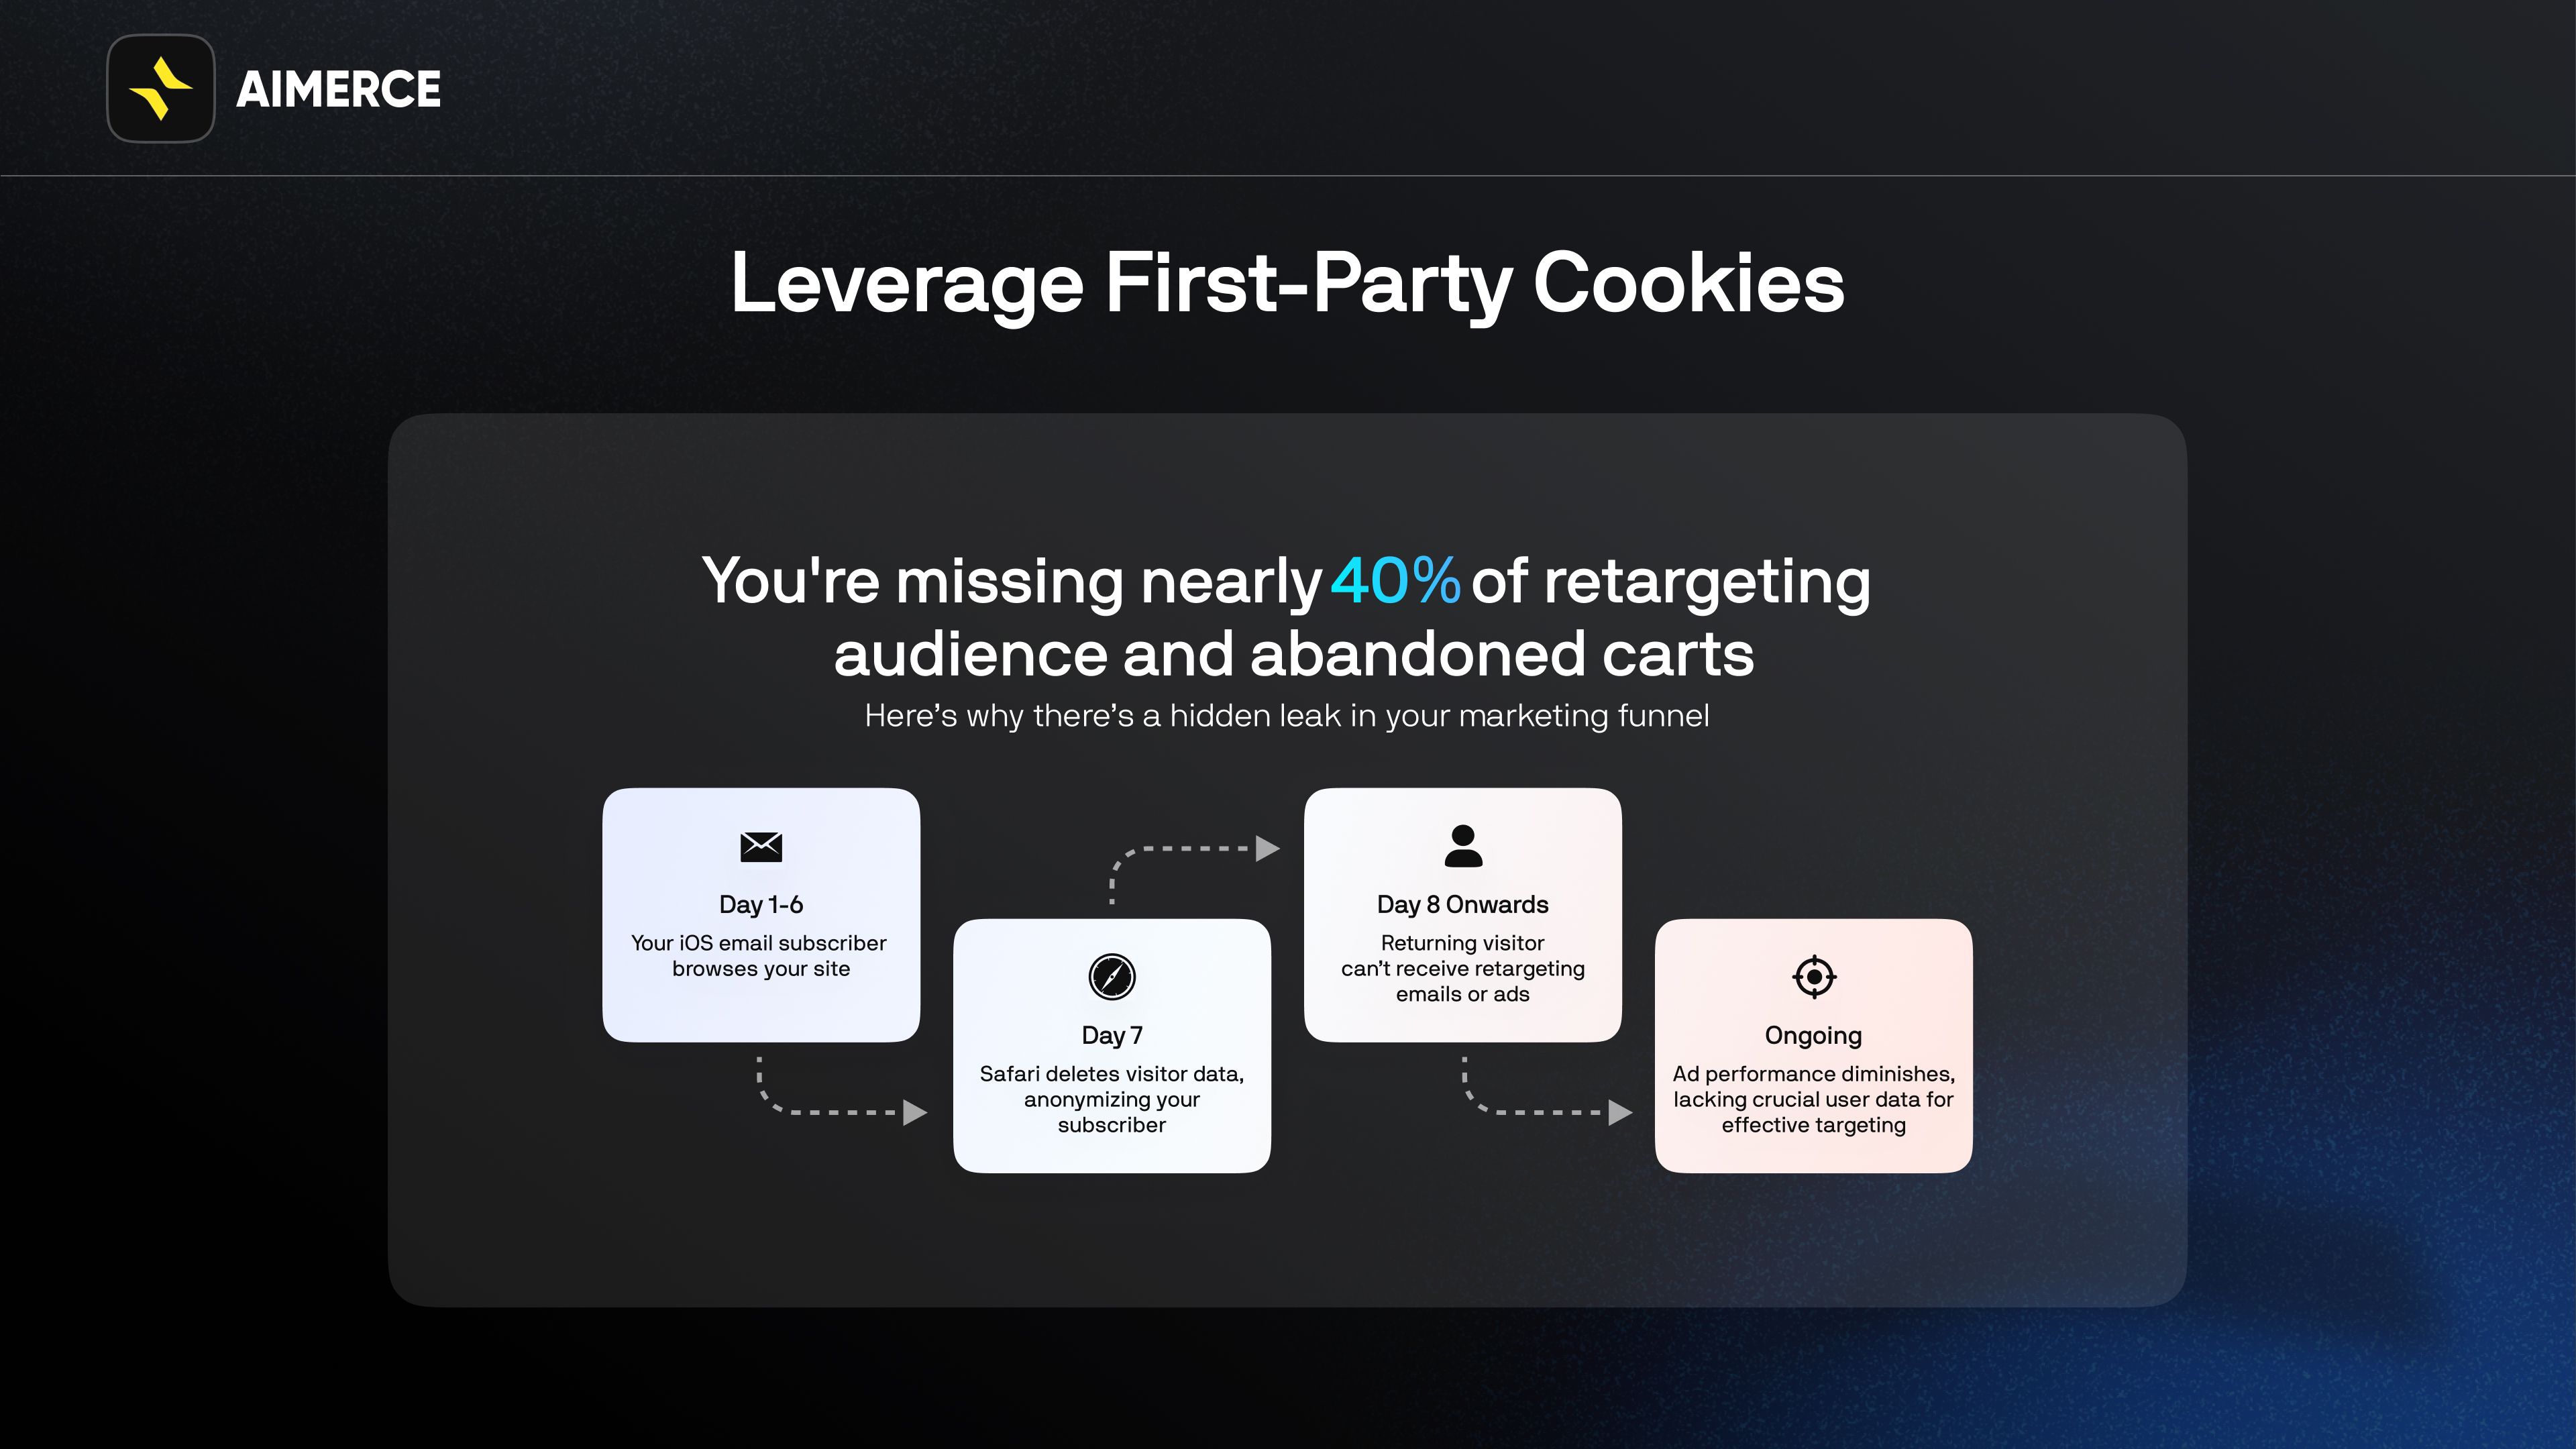
Second, browsers have gotten much more aggressive about blocking tracking scripts. Safari blocks third-party cookies by default. Ad blockers prevent tags from firing. iOS limits what data gets passed back to ad platforms. All of this means a pixel sitting in someone's browser is an unreliable messenger.
Third, Shopify's checkout flow especially if you use a custom thank-you page, redirects, or third-party payment processors can cause your purchase confirmation tag to fire at the wrong moment, fire twice, or not fire at all.
The goal is not perfect tracking. That does not exist. The goal is consistent, accurate-enough tracking that your bidding decisions are based on real purchase data, not a partial picture.
What Should You Track as a Conversion in Google Ads?
Before touching any tags, decide what counts. This matters because Google's automated bidding optimizes toward whatever you mark as a primary conversion. If you mark the wrong things as primary, you end up paying for the wrong outcomes.
Primary conversion (what Google should optimize toward):
- Purchase - an order confirmed and completed
Secondary conversions (useful for diagnosing funnel problems, not for bidding):
- Begin checkout - strong buying intent, good for spotting drop-off
- Add to cart - early intent signal, useful for campaign diagnostics
- Lead actions - newsletter signup or quote request if your store uses them
A common mistake is marking add-to-cart as a primary conversion to get more data into bidding. The problem is that add-to-cart is cheap to trigger and does not reliably predict purchases. You end up training the algorithm to find people who browse, not people who buy.
What Are the Three Ways to Set Up Google Ads Conversion Tracking on Shopify?
There are three main approaches. Each has real trade-offs.
| Setup Method | Accuracy | Dev Work Required | Remarketing Audience Size | ROAS Impact |
|---|---|---|---|---|
| Direct tag install (no GTM) | Low to medium | Low. Copy-paste into theme | Limited. Misses blocked sessions | Baseline |
| Google Tag Manager (GTM) | Medium | Medium. GTM setup + triggers | Better. More events captured | Moderate improvement |
| Server-side via Enhanced Conversions (Aimerce) | High | None. No developer needed | Significantly larger. Captures iOS and blocked sessions | Up to 20% ROAS improvement |
Direct install means copying the Google tag directly into your Shopify theme. It works for simple stores and is the fastest to get running, but it breaks easily during theme updates and gives you no flexibility if you want to track more than purchases.
Google Tag Manager is a layer between your store and your tracking tags. You install one GTM container tag in Shopify, then manage all your conversion events inside GTM's interface. It is more organized and easier to update, but it is still client-side meaning it still gets blocked by browsers and ad blockers.
Server-side tracking via Enhanced Conversions is the most accurate option. Instead of relying on a browser script that can be blocked, purchase data is sent directly from your server to Google. This captures conversions that client-side tags miss entirely, which means more data in Google's bidding algorithm, larger remarketing audiences, and better ROAS.
How Do You Create Conversion Actions in Google Ads?
Before installing any tag, set up your conversion actions inside Google Ads first. This is where you tell Google what you want to measure.
Step 1: In Google Ads, go to Tools and Settings, then Conversions under Measurement.
Step 2: Click the plus button to create a new conversion action. Select Website as the conversion source.
Step 3: Create separate conversion actions for:
- Purchase (set as primary, include value and currency)
- Begin checkout (set as secondary)
- Add to cart (set as secondary)
Step 4: For the purchase action, set "Count" to "One" this means if someone refreshes the confirmation page, it only counts once. Set value to "Use different values for each conversion" so the actual order total gets recorded.
Step 5: Note the Conversion ID and Conversion Label for each action. You will need these when setting up your tags.
How Do You Install Google Ads Conversion Tracking on Shopify Using GTM?
If you are going with the GTM approach, here is the practical setup.
Step 1: Install GTM on Shopify
In GTM, create a new container and copy the two code snippets provided. In your Shopify admin, go to Online Store, then Themes, then Edit Code. Add the first snippet to the head section of your theme.liquid file. Add the second snippet right after the opening body tag.
Step 2: Set up the base Google tag
Inside GTM, create a new tag using the Google Ads Conversion Tracking template. Enter your Google Ads Customer ID. Set the trigger to fire on all pages. This is your base tag it needs to load on every page of your store.
Step 3: Set up the purchase conversion tag
Create a second tag in GTM using the same Google Ads Conversion Tracking template. Enter the Conversion ID and Conversion Label for your purchase conversion action. For the conversion value, use a data layer variable that pulls the order total from Shopify's checkout confirmation page. Set the trigger to fire only on the order confirmation page URL.
Step 4: Add the purchase data layer push to Shopify
In your Shopify admin, go to Settings, then Checkout, then Additional Scripts. Add a data layer push that sends the order total, currency, and order ID to GTM when someone lands on the confirmation page. This is what feeds the value into your purchase tag.
Step 5: Test before going live
Use GTM's Preview mode to walk through a real purchase on your store. Confirm that the base tag fires on every page and the purchase tag fires exactly once on the confirmation page with the correct order value. Do not trust the setup until you have seen it fire correctly on a real transaction.
What Is Google Enhanced Conversions and Why Does It Matter for Shopify?
Google Enhanced Conversions is Google's server-side tracking solution. It works by sending hashed customer data email address, name, phone number directly from your server to Google alongside the standard conversion event.
Here is why this matters. When a customer buys from your Shopify store and is logged into their Google account, Google can match the hashed data you send to their Google profile. This means conversions that would have been missed by a browser pixel because of iOS restrictions, ad blockers, or cookie limitations get attributed correctly.
The practical results for Shopify DTC brands:
- More complete conversion data - you stop underreporting purchases, which means Google's algorithm has better signal to work with
- Larger remarketing audiences - more matched conversions means more people in your audience pools for retargeting
- Better bidding accuracy - Smart Bidding strategies like Target ROAS work better when they have complete purchase data to learn from
- Up to 20 percent ROAS improvement - because the algorithm is optimizing on real data rather than the 60 to 80 percent of purchases that a client-side pixel actually captures
How Do You Set Up Google Enhanced Conversions for Shopify Without a Developer
This is where most guides stop because the technical setup for Enhanced Conversions is genuinely complicated if you are doing it manually. You need to configure server-to-server event sending, handle data hashing correctly, and make sure the customer data fields map properly to what Google expects.
Aimerce handles this for Shopify brands without requiring any developer work. It connects your Shopify store to Google's Enhanced Conversions endpoint directly, sends purchase events server-side with properly hashed customer data, and includes bot filtering so test orders and crawler activity do not pollute your conversion data.
This is the same infrastructure Aimerce uses for Meta CAPI one platform that sends clean, server-side purchase events to both Meta and Google simultaneously. For Shopify brands running ads on both platforms, this means one setup that fixes tracking accuracy across your entire paid acquisition stack.
The practical setup through Aimerce takes about 15 minutes and does not require touching your theme code, GTM, or any data layer configuration.
FAQ
Do I need conversion tracking to run Google Ads for my Shopify store? Technically no, but without it you are optimizing to clicks and traffic rather than purchases. Smart Bidding strategies — which are the most effective way to run Google Ads at scale require conversion data to function. Running without tracking means manual bidding on incomplete information.
What is the difference between Google Ads conversion tracking and Google Analytics? Google Analytics tracks behavior across your whole site sessions, pages viewed, bounce rate. Google Ads conversion tracking specifically connects ad clicks to purchase outcomes and feeds that data back into bidding. You need both, but for ad optimization, Google Ads conversion tracking is the one that matters most.
Why do my Google Ads conversions not match my Shopify orders? Several reasons: client-side tags being blocked by browsers or ad blockers, the purchase tag firing more than once per order, attribution windows not aligning, or cross-device journeys not being captured. A gap under 10 percent is normal. A gap above 20 percent needs fixing before you make any scaling decisions.
What is Google Enhanced Conversions and do I need it? Enhanced Conversions sends hashed customer data server-side to Google, allowing purchase events to be matched even when browser tracking is blocked. If you are running significant spend on Google Ads and have not set up Enhanced Conversions, you are likely missing 20 to 40 percent of your actual purchases in reporting. Yes, you need it.
Should I use Google Tag Manager or install tags directly on Shopify? GTM is the better long-term option for most Shopify brands. It keeps your tracking organized, makes updates easier, and reduces the risk of tags breaking during theme changes. Direct installation is faster to set up but harder to maintain.
How does server-side tracking improve Google Ads ROAS? Google's Smart Bidding optimizes based on the conversion signals it receives. If your client-side pixel is missing 30 percent of purchases, the algorithm thinks your campaigns are performing worse than they actually are and under-bids for your best customers. Server-side tracking closes that gap, gives the algorithm more complete purchase data, and allows it to bid more aggressively for the right audience which is where the ROAS improvement comes from.
How long does it take for conversions to show up in Google Ads? Most conversions appear within a few hours, but reporting can lag up to 24 to 48 hours in some cases. Use the real-time diagnostics in Google Ads or Tag Assistant to verify tags are firing correctly do not wait for reporting to confirm your setup is working.
What is bot filtering and why does it matter for conversion tracking? Bot filtering removes non-human traffic web crawlers, testing tools, and automated scripts from your conversion data. Without it, test orders and bot activity can inflate your reported conversions, which skews your cost per conversion metrics and confuses bidding algorithms. Server-side tracking platforms like Aimerce include bot filtering as part of the setup.

Try Aimerce Pixel Risk-Free
for 30 Days
Most teams see results within 2 weeks.
Money-back guarantee.
It pays for itself, or you don't pay anything.
30-Day Aimerce Pixel Free Trial